WVAngler.com
  • Home
  • Message Board
  • About
    • Advertising
    • Blogs >
      • Elkfisher's Corner
      • Wooly's Blog
      • The Weekend Angler's Diary
      • WVSportman's Blog
    • Staff
    • Tributes >
      • Gary's Corner
      • Remembering Eric Workman
    • WVAOTY
  • Fly Tying
  • Links
    • Fly Shops >
      • Angler's Xstream
      • Evergreen Fly Fishing Co.
      • Serenity Now Outfitters
    • Rod Builders >
      • 304 Rod Company
      • Almost Heaven Custom Fly Rods
      • Dotson Custom Fly Rods
      • Ken's Custom Rods
      • Vandalia Rodworks
    • Guides & Outfitters >
      • Appalachain Fly Fishing Guide Service
      • Eagles Nest Outfitters
      • Elkfisher's Gudied Fly Fishing
      • Elk River Odyssey Guide Service
      • Elk River Touring Center
      • Last Chance Outfitters
      • Mark Kovach Fishing Services
      • Mountain State Anglers
      • New River Trophy Outfitters
      • Pro River Outfitters
      • Serenity Now Outfitters
    • New to Fly Fishing?
    • WV Outdoors >
      • Cheat Mountain Club
      • Cheat River Water Trail
      • Monongahela National Forest
      • WV Rivers Coalition
      • WV State Parks and Forests
    • USGS Streamflow
    • American Whitewater
    • WV DNR
    • WV DEP
  • Trophy Room
    • Trout >
      • Brookies
      • Browns
      • Lake Runs
      • Rainbows
      • Western Trout
    • Bass
    • Musky >
      • On the Fly
      • Tackle
    • Bucks
  • Contact
  • Hatch Charts
  • WVTU
    • Silver Trout Award
    • West Virginia Council
    • Blennerhassett Chapter
    • Ernie Nestor Chapter
    • KYOVA Chapter
    • Mountaineer Chapter
    • P. Pendleton Kennedy Chapter
    • Sal Font Chapter
    • Southern WV
  • Quotes
WVAngler.com | Fish on Brother...

Msuky Fly SBS

"TheCream", Athens, OH

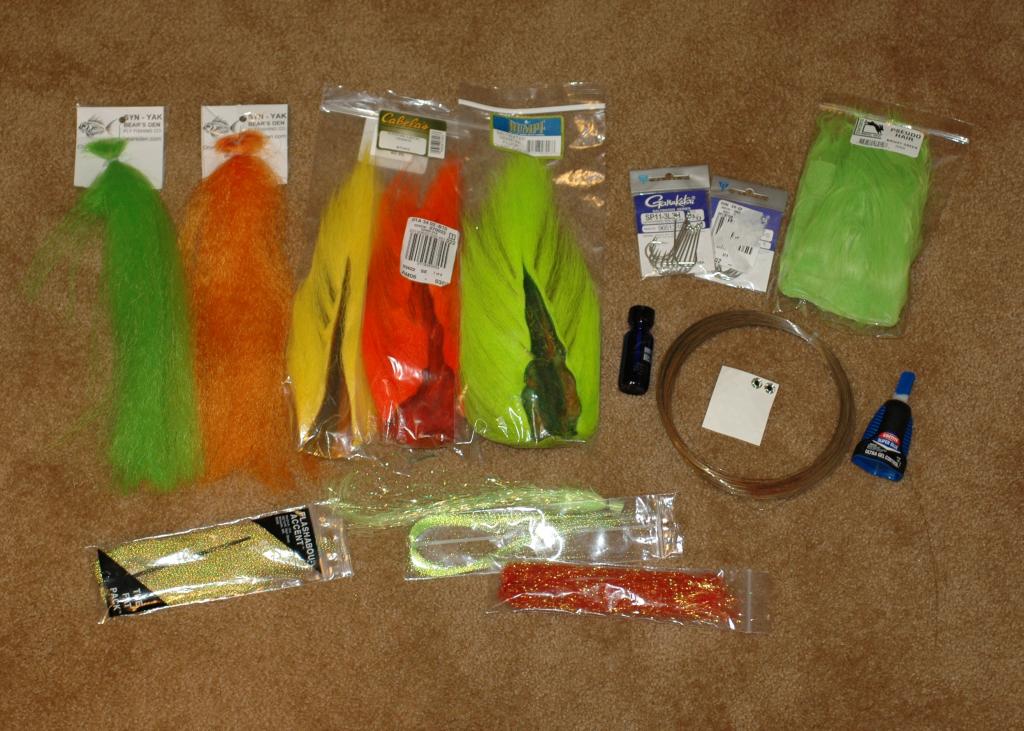
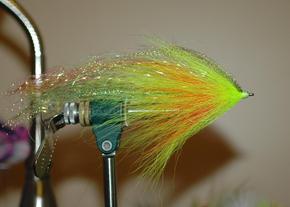
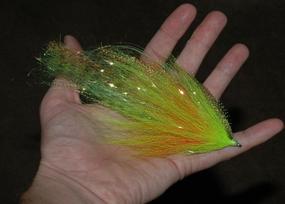
I was asked to do a musky fly tutorial on an articulated pattern I started tying, and I had time over the weekend on a rainy Sunday to get it done.  This will be a lot of pics as there are a lot of steps in this pattern.  Here's a pic of what you'll need (minus the black Sharpie) and a recipe for the pattern.

Picture
Rear hook:

Hook: Gamakatsu SP11 3/0
Thread: Orvis G chartreuse (you'll need a strong thread)
Tail: synthetic yak and flash (I like to mix Flashabou and Krystal Flash)
Body: reverse/hollow-style bucktail and flash in alternating colors (chart/yellow/orange)

Junction: Single strand steel 44lb test

REAR HOOK TUTORIAL


Front hook:

Hook: Gamakatsu SL12 6/0
Thread: same as above
Body: reverse/hollow-style bucktail and flash
Head: spun chartreuse craft fur (I use Pseudo Hair, a long craft fur)
Decorating: black Sharpie and 3D molded eyes (I used 5/16" eyes on this one)

FRONT HOOK TUTORIAL

Step 1

Picture
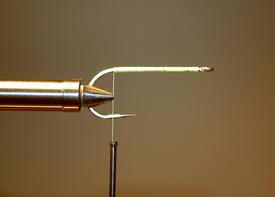
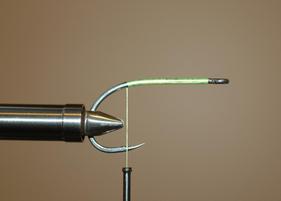
Put the rear hook in the vise and lay a thread base, leave the thread at the hook bend.

Step 2

Picture
Tie in the synthetic yak for the tail by doubling the material (12-13" long) over the thread and tying it down.  I used orange over chartreuse for this one.  If you wanted a longer tail you tie it in full length.  Overall length on this pattern ends up at about 9.5".

Step 3

Picture
Next, I like to bar the tail with a black Sharpie.  If you grab the tail and pull with some tension, barring with the marker is pretty easy and quick.  Add some flash for the tail, I mix Flashabou (chartreuse) and Krystal Flash (peac*ck) for this one. 

Step 4

Picture
The first clump of bucktail could be tied in traditionally, tips to the rear, but I like the durability of the hollow-style bucktail.  You will want pretty long hair for this pattern.  Start with a chartreuse clump of hair large enough to fully cover the hook 360 degrees, and tie it in tips-forward.  Work the hair around the hook with your fingers with the thread loose to cover it then cinch it down tight.  The butts should flare a little. 

Step 5

Picture
Use your fingers to force the hair to double back over itself, pushing the tips towards the rear.  I find using my index, middle finger, and thumb pressed together and slid back the shank does a good job of getting the hair started in the right direction.  Advance the thread in front of the hair.

Step 6

Picture
Make tight thread wraps up against the base of the hair.  What you are doing is building a conical-shaped thread dam to hold the hair back.  The more thread you get in front of the hair, the closer the hair will lay to the shank.  When you get the hair laid down to the profile you want, I like to throw a half-hitch at the front of the thread dam.

Step 7

Picture
Next you will add some flash (chart Flashabou here for me).  I like to alternate different colors and types of flash to these flies.  Tie in a clump of flash (full length) at the base of the thread dam and leave some butts sticking forward towards the hook eye about 2-2.5" long.  With one or two wraps over the flash, use your fingers to force the flash to cover evenly over the top half of the thread dam.

Step 8

Picture
Fold the butts of flash back to the rear and secure them down with thread.  After covering the material in thread, I like to coat the wraps with cement.  Hard as Hull is my usual choice.

Step 9

Picture
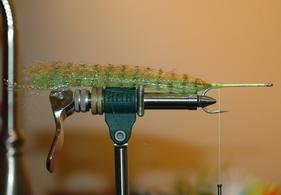
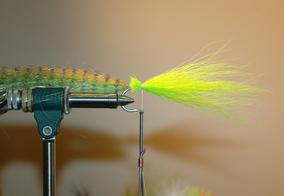
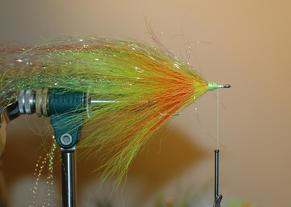
You will basically use that process of adding the bucktail and flash (and hackles if you have them and want them in there) to fill the rest of the hook shank.  I alternate colors, and yellow is my next color to add.

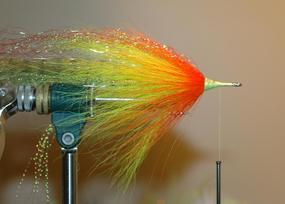
Step 10

Picture
Followed by orange and some orange flash material.

Step 11

Picture
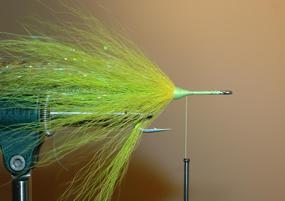
I then go back to yellow again.

Step 12

Picture
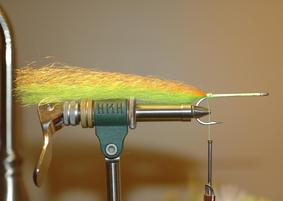
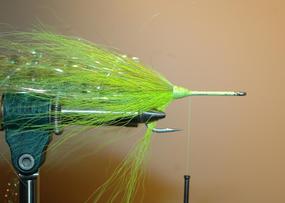
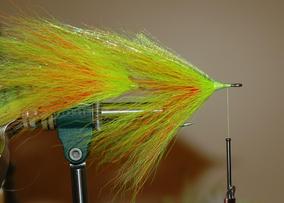
Followed by chartreuse again and some Krystal Flash.

Step 13

Picture
The rear hook is done.  Cement the thread well, two coats would not be excessive.  I spend a lot of time on these so I want to do what I can to make them last.

Step 1

Picture
Now for the front hook.  Put the SL12 6/0 in the vise and lay a thread base.  Leave the thread at the bend and cement the thread base.

Step 2

Picture
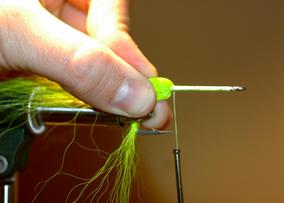
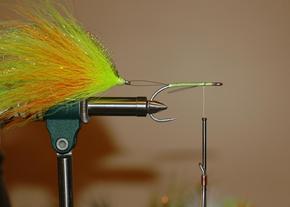
I start with about an 8" length of wire for the junction.  You will trim excess.  Tie in the wire strand along the top of the shank slightly off center, leaving a 1" tag towards the hook eye that you will fold under to the bottom of the hook and wrap over with thread.  Slide the rear hook onto the free strand of wire and secure the long end to the top of the shank.  Try to leave the trailing hook at least 1/2-3/4" behind the front hook.  Leave a tag of wire towards the eye to once again fold back towards the hook point and wrap with thread.  Trim those butts if they are too long.

Step 3

Picture
Secure the junction wire with lots of tight thread wraps, then cement it very thoroughly.

Step 4

Picture
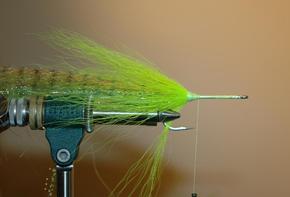
Now we'll start the front body with more reverse tied bucktail.  This clump will again be chartreuse.  Tie it in tips forward and cinch it down tight.

Step 5

Picture
Push the tips back as before on the rear hook and secure it in place with a dam of thread and add some flash as before.

Step 6

Picture
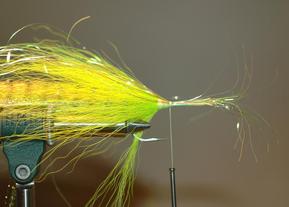
Now I alternate back to the hot orange bucktail and some more flash.

Step 7

Picture
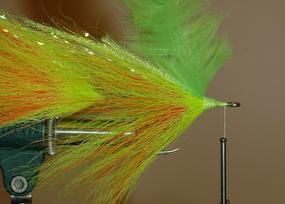
Followed by one more clump of chartreuse bucktail and some more Krystal Flash.

Step 8

Picture
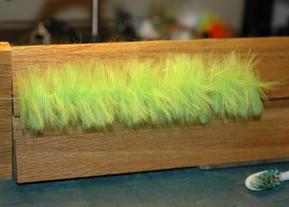
This is the point where you have a choice for how to finish the head.  I use spun craft fur, which can be done one of two ways.  You can make a streamer brush from craft fur if you have a dubbing/streamer brush tool (which I have done) or you can spin the craft fur in a standard dubbing loop.  I use the brush machine because I can pre-make the streamer brush using the Pseudo Hair (just a select grade of craft fur) using a core of stainless steel wire which is very durable.  Here is my chartreuse Pseudo Hair brush on the machine.

Step 9

Picture
If you use the dubbing loop method, simply create a dubbing loop close to the flash, trim some craft fur (cut off the tips) and insert into the dubbing loop.  Spin the loop and begin to wrap forward.  If you use a brush, tie it in and begin to wrap forward towards the eye.

Step 10

Picture
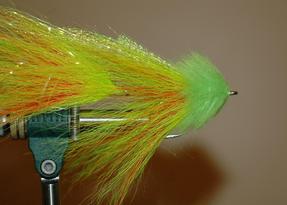
Try to stroke the fibers back as you wrap to avoid trapping as many fibers as you can.  When you reach the hook eye, tie off, whip finish, cut the thread and cement the wraps.

Step 11

Picture
At this point I like to use an old toothbrush or comb to stroke the fibers of the head back.  This will tame some of the fibers and also help release some trapped fibers.  Add some barring with a black Sharpie.

Step 12

Picture
The last step is to add the eyes.  I use a big drop of CA gel superglue, drop the eye on the glue, and lightly press it to the head and allow to dry.  Yes, the eyes can be torn off by fish, but that is an easy fix down the road if the fly gets a few battle scars.  I don't like the eyes all the way forward at the hook eye for this pattern and would prefer to not coat the whole head with a clear curing adhesive product.


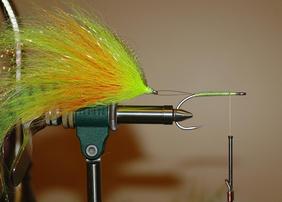
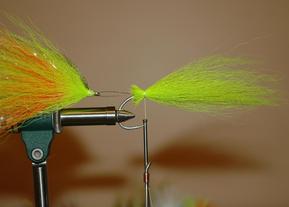
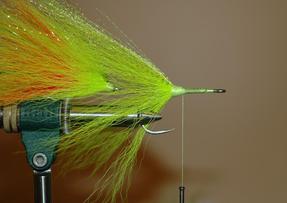
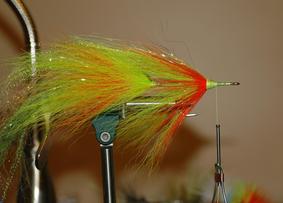
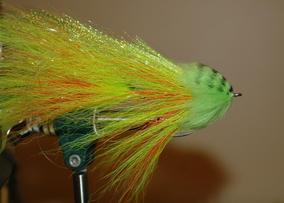
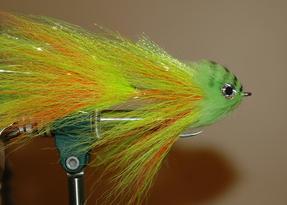
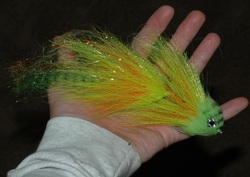
Finished!

Picture

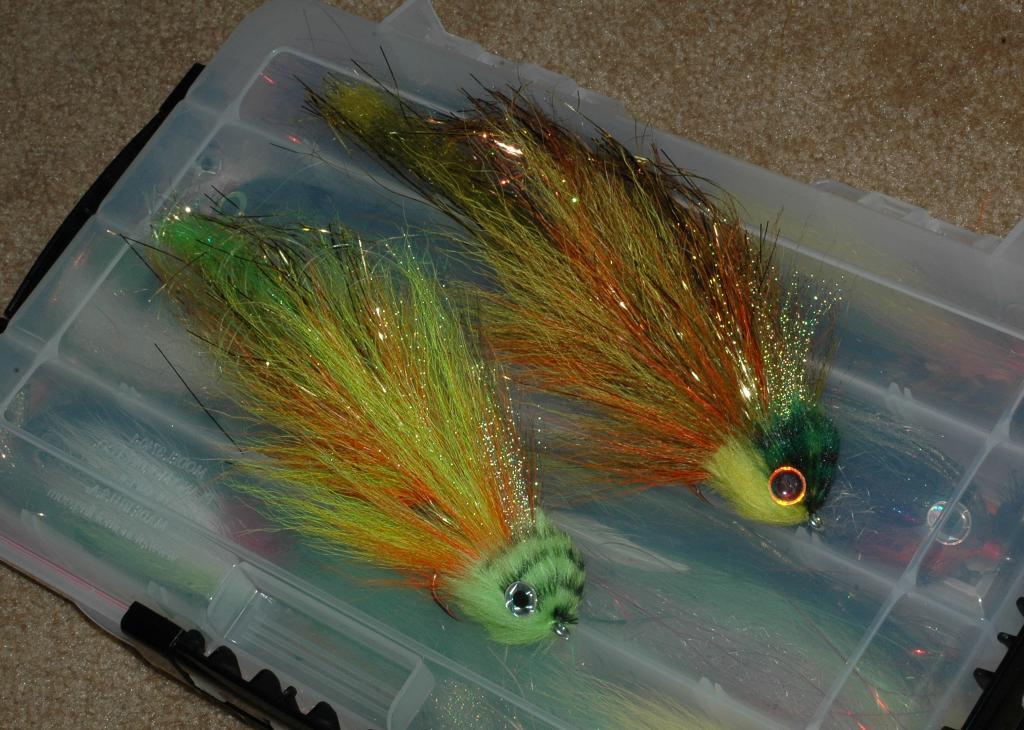
Here are a couple of other color combos I have made in this pattern.
Picture
Powered by Create your own unique website with customizable templates.
  • Home
  • Message Board
  • About
    • Advertising
    • Blogs >
      • Elkfisher's Corner
      • Wooly's Blog
      • The Weekend Angler's Diary
      • WVSportman's Blog
    • Staff
    • Tributes >
      • Gary's Corner
      • Remembering Eric Workman
    • WVAOTY
  • Fly Tying
  • Links
    • Fly Shops >
      • Angler's Xstream
      • Evergreen Fly Fishing Co.
      • Serenity Now Outfitters
    • Rod Builders >
      • 304 Rod Company
      • Almost Heaven Custom Fly Rods
      • Dotson Custom Fly Rods
      • Ken's Custom Rods
      • Vandalia Rodworks
    • Guides & Outfitters >
      • Appalachain Fly Fishing Guide Service
      • Eagles Nest Outfitters
      • Elkfisher's Gudied Fly Fishing
      • Elk River Odyssey Guide Service
      • Elk River Touring Center
      • Last Chance Outfitters
      • Mark Kovach Fishing Services
      • Mountain State Anglers
      • New River Trophy Outfitters
      • Pro River Outfitters
      • Serenity Now Outfitters
    • New to Fly Fishing?
    • WV Outdoors >
      • Cheat Mountain Club
      • Cheat River Water Trail
      • Monongahela National Forest
      • WV Rivers Coalition
      • WV State Parks and Forests
    • USGS Streamflow
    • American Whitewater
    • WV DNR
    • WV DEP
  • Trophy Room
    • Trout >
      • Brookies
      • Browns
      • Lake Runs
      • Rainbows
      • Western Trout
    • Bass
    • Musky >
      • On the Fly
      • Tackle
    • Bucks
  • Contact
  • Hatch Charts
  • WVTU
    • Silver Trout Award
    • West Virginia Council
    • Blennerhassett Chapter
    • Ernie Nestor Chapter
    • KYOVA Chapter
    • Mountaineer Chapter
    • P. Pendleton Kennedy Chapter
    • Sal Font Chapter
    • Southern WV
  • Quotes