
Musky Fly SBS Tutorial
By: "Usual"
Mark Stallard
Lorain, OH
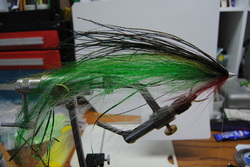
There are no secrets in this except thinking larger and having the right materials to stand up to the abuse. I don't fish just for muskies with these, as there is striper fishing that these have an equal place.
This fly is 15" OAL
Mark Stallard
Lorain, OH
There are no secrets in this except thinking larger and having the right materials to stand up to the abuse. I don't fish just for muskies with these, as there is striper fishing that these have an equal place.
This fly is 15" OAL
Recipe
Hook: Gamakatsu SL12S #8/0 Front hook
Gama Octopus #6/0 rear hook Thread: 3/0 Danville Flymaster 210 Denier White Rear hook wire: Sevalon 30-45# Body Flash: Green and Pearl Saltwater/BigGame Flashabou (Certain Christmas Tinsel works well as long as it strong). Body and Wing: Yak hair, white, Ocean Green and Olive used.High Tied style Topping: Eltra Select long Peacock Herl Eyes: 15mm Doll Eyes Cut stems off. Rattle: Large Pearl Body Tubing with Magnum rattle tube inserted. Markers: Red, Olive and DK Green 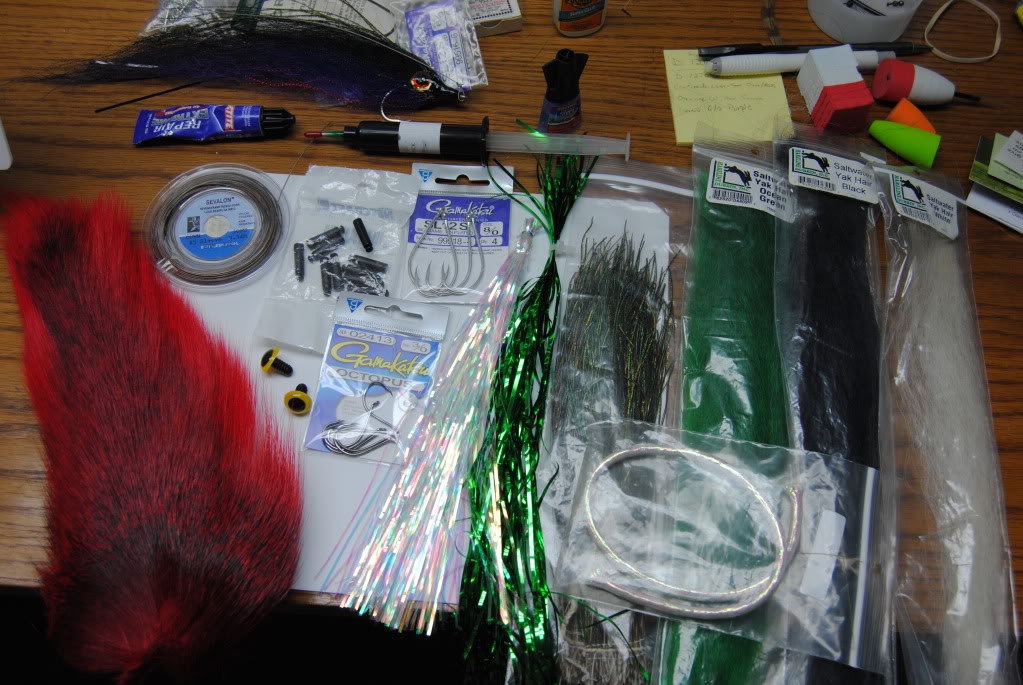
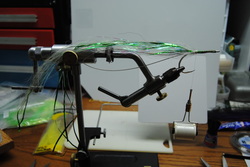
Step 1
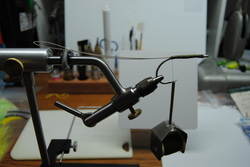
With Front hook in vise, lay the thread down to rear and over wrap, half hitch, brush super glue (use it in every step since this will be your best friend in making a durable fly.) Tie in a piece of wire approximately 16" fold it in half and tie down up to hook eye, bring both ends thru eye and back over, and tie down back to the rear of the hook shank, Lay more wraps of thread so it is secured, and then put a good bead of superglue and let it dry before moving on.
Step 2
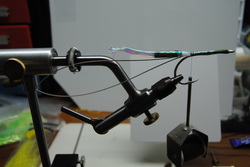
Take the body tubing and insert the bodkin part way, and take any 6/0 thread tie off end approx, 3/4" from end and then superglue the threads. Insert a rattle tube inside and install on the hook shank. Once it is tied down, mix 1min of epoxy to coat the thread and part of the notch in the rattle. Let it sit until cure, roughly 5min.(Grab a beer in the meantime).
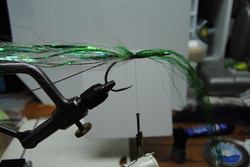
Step 3

Next, Add flash materials to shank, I first use pearl then green. Tie down, half hitch and superglue it.
Step 4
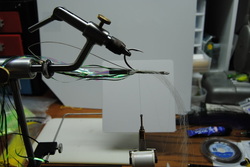
Next rotate vise to bottom of fly and lay the first layer of Yak hair and tie down. Do not over use the material as it's unneeded. You want a light profile so you can cast it.
|
Step 5
Rotate vise back upright and lay the top color(green used), tie it down. half hitch and superglue. Very simple to do once you got it down.
Step 6
Keep on laying body material in front of each other to finish fly toward hook eye approx. 3/8". Alternating up and down.
Step 7
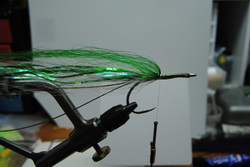
As you move up the shank make sure you taper the body as you go so the fly look right. Very important to a properly tied fly.
Step 8
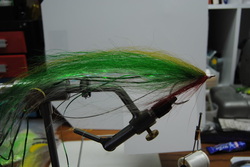
Next step is the last piece of yak hair clumps I finish by using contrasting color, Olive. this adds 3d dimensions. Then I had a clump of Red Bucktail to make the bleeding gills. Tie it down and uniform the head and superglue again make sure it get into the hair for durability.
Step 9
Next I top the fly off with Peacock Herl. Use good liberal amount. Tie it down and super glue the threads. I add a some Olive angel Hair to the sides of the and then whip finish the head and trim. Body is done! Looks good don't it?
Step 10

Next step is to fix the eyes, Cut the stems off and do one side at a time, don't try to do both as it can get away from you. I use 1 min. epoxy here to affix the the eyes. Take color markers and color the thread. Used Red, Green and Olive.
Finished!

Last step is take the fly out of the vise and use a generous amount of UV sensitive polymer like Clear Cure Goo. Coat the head part of the fly, turning til it looks good and zap with UV light. I really like this stuff as it is far easy to use then epoxy. Take a cloth saturated in Denatured Alcohol and rub the residual off the head and coat it Sally Hansen Hard as Nail Clear Polish. Let it dry. You are done! Time for another beer!
|
