
Foam Hopper Tutorial
By: "spinfly"
Jason Sanders
Parkersburg, WV
Here's a good summer trout or bass pattern:
Jason Sanders
Parkersburg, WV
Here's a good summer trout or bass pattern:
Step 1
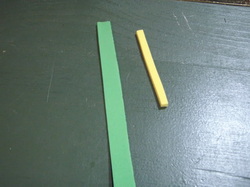
First cut two pieces of foam one yellow and one slightly wider green piece
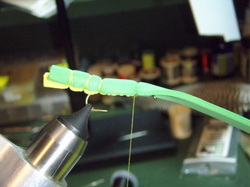
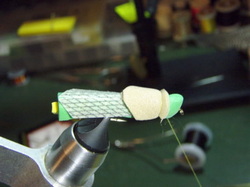
Step 2
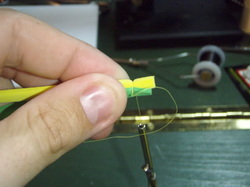
Next fold the green piece around the yellow. Hold in your hand and start wrapping yellow thread around the foam to form a segment of the abdomen
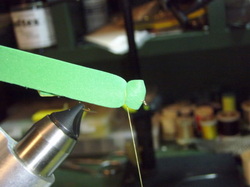
Step 3
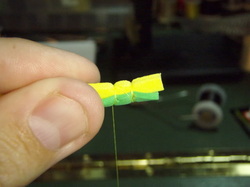
Wrap a few more segments
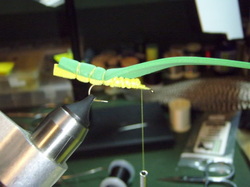
Step 4

Next, tie onto hook.
Step 5

Next, tie down the yellow "tag" foam to the hook
Step 6
Cinch down the yellow foam
Step 7
Fold down the green foam and tie in near the hook eye and tie in
|
Step 9

Fold the foam sideways back toward the bend, punch a small hole for the eye to stick out. Step 9
Then tie down foam to form head
Step 10
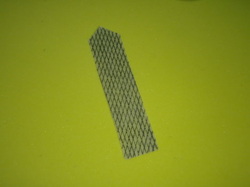
Trim a wing out of any desired wing material...this is Waspi wing material
Step 11
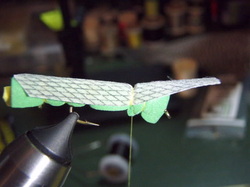
Then tie down wing on body
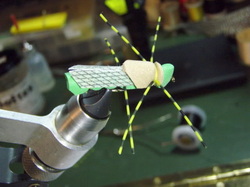
Step 12
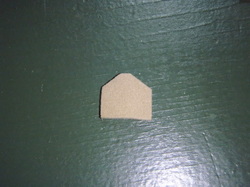
Trim a piece of foam as shown
Step 13
Then tie in over the wing for a "thorax"
Step 14
Now for some legs
|
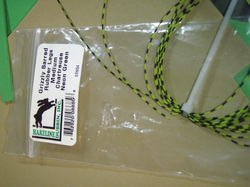
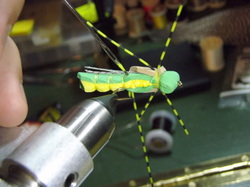
Step 15

Trim some rubber leg material and tie to each side of the body beside the thorax Step 16
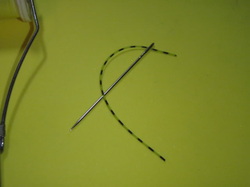
Next, for some rear legs... thread some rubber leg material thru a large needle Step 17
Pass thru the foam in the rear of the body
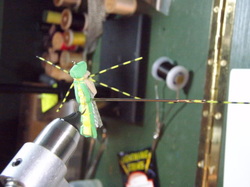
Step 18
Another view...
Step 19
Trim to desired length
Step 20
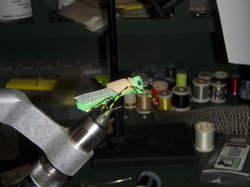
Don't forget some eyes! (Magic Marker)
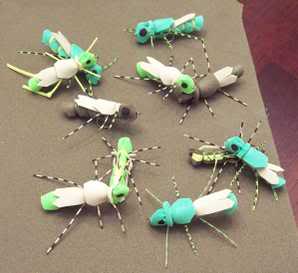
Finished!!
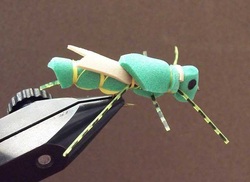
Good pattern to strip and pop thru a slow trout pool or farm pond!
|
