
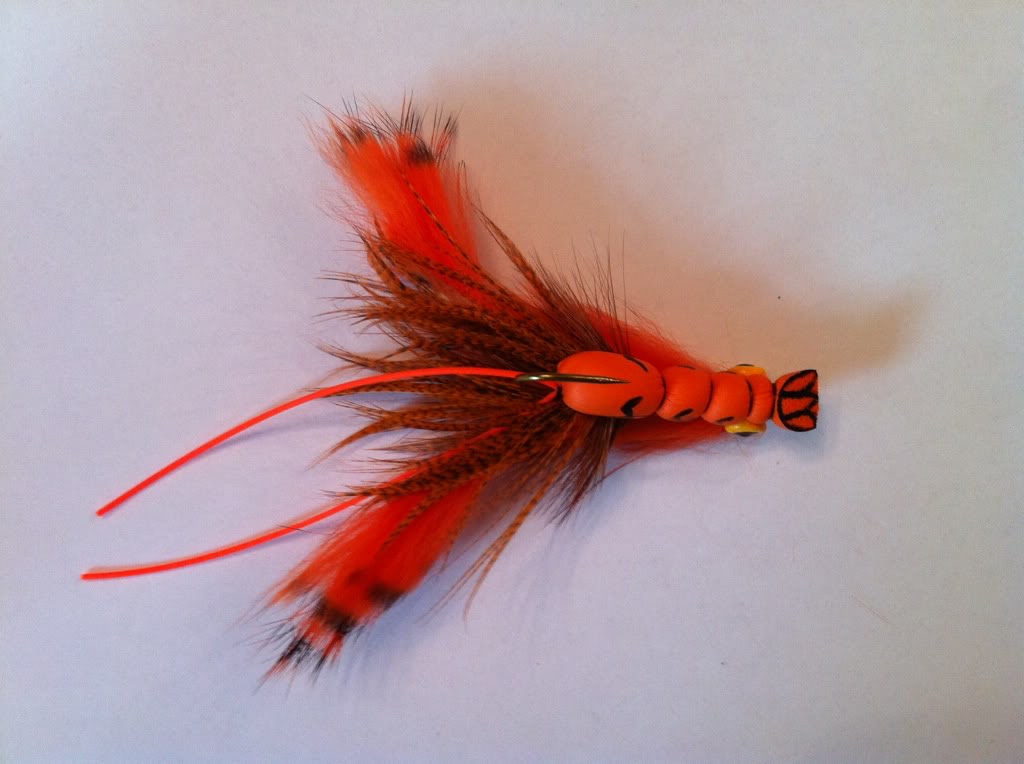
CD Craw Tutorial
I named this craw pattern the CD craw after my cousin, best friend, and fishing buddy who recently enlisted in the US Army. Thanks for your service Chris....Sorry about the photo quality. All I have to work with is my iPhone, once again! Enjoy...
Recipe
Hook: TMC 8089 Size 6
Thread: Brown nylon stretch Weight: Painted lead eyes and lead wrapping Antennae: Orange rubber legs Shell: Orange Rainy's float foam cylinder Front legs: 3 large wood duck flank feathers Claws: 2 orange rabbit zonker strips, trimmed Rear Legs: 2 red or brown strung saddle hackles Gills: Orange rabbit zonker strips Eyes: Clothing pins, cut and epoxied in place Step 1
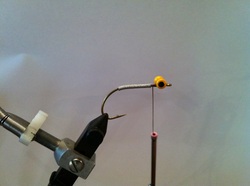
Step 1: Start with hook upright and wrap lead eyes in place as well as wrapping the body with lead. This is a valuable step to ensuring the buoyancy of this fly which sinks at a rate of 8-11 inches a second.
Step 2

Step 2: Once you have the eyes in place and the body wrapped, turn the hook over and tie in the rubber antennae.
Step 3
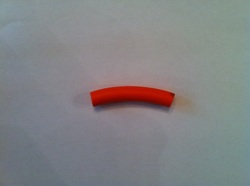
Step 3: Select a piece of foam cylinder about 1 1/4 inches long. Then trim one end into a taper. (below)

Step 4
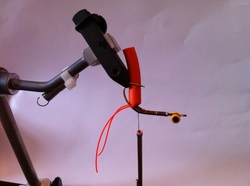
Step 4: Tie in the tapered end of the foam away from the eye of the hook, as shown. Make sure the foam is just off to the side so as not to get torn up by the hook point.
Step 5
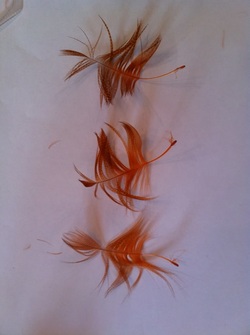
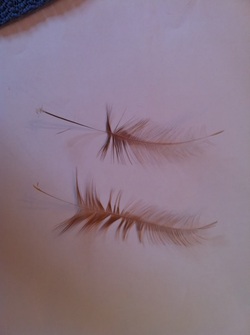
Step 5: Select 3 Wood duck flank feathers and trim the fuzz off of the bottom. Prepare the feathers for palmering.
Step 6
Step 6: Tie in the Wood duck by the tips and palmer back toward the bend of the hook.
|
Step 7
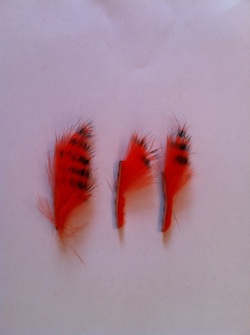
Step 7: Next select 3 zonker strips about 1 inch in length. Trim two of the strips as shown to form the claws.
Step 8
Step 8: Tie in the trimmed zonker strips on the sides of the fly.
Step 9
Step 9: Select and prepare 2 strung saddle hackles as you did the Wood duck feathers for palmering.
Step 10
Step 10: Tie saddle hackles in by the tips and palmer toward the eye of the hook, as shown below.
Step 11
Step 11: Turn hook over and tie in the third, untrimmed, zonker strip as you would a normal zonker. Try to tie in as close to the end of the strip as possible, this will keep your fly tight and uniform. Make 3 solid wraps over the zonker strip and then sinch the strip down with 2 firm wraps in front.
Step 12
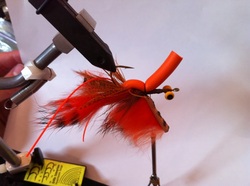
Step 12: Turn hook back over in vice and stretch foam cylinder down over the back of the fly, separating the palmered wood duck and hackle feathers as you go. Pull the foam down and make 3 firm wraps across the body to hold it in place.
|
Step 13

Step 13: Make 2 even wraps forward under the foam and repeat the last 2 steps with the zonker strip and foam.
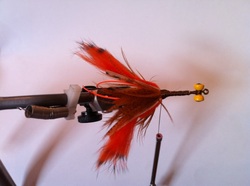
Step 14
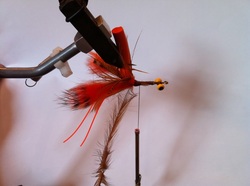
Step 14: Finish your segments out right behind the lead eyes. Then wrap the zonder stip over the lead eye and finish off at the eye of the hook. Trim the zonker strip off and pull foam over the opposite side and finish it off at the eye as well, this will form the tail section of the crawdad. (below) 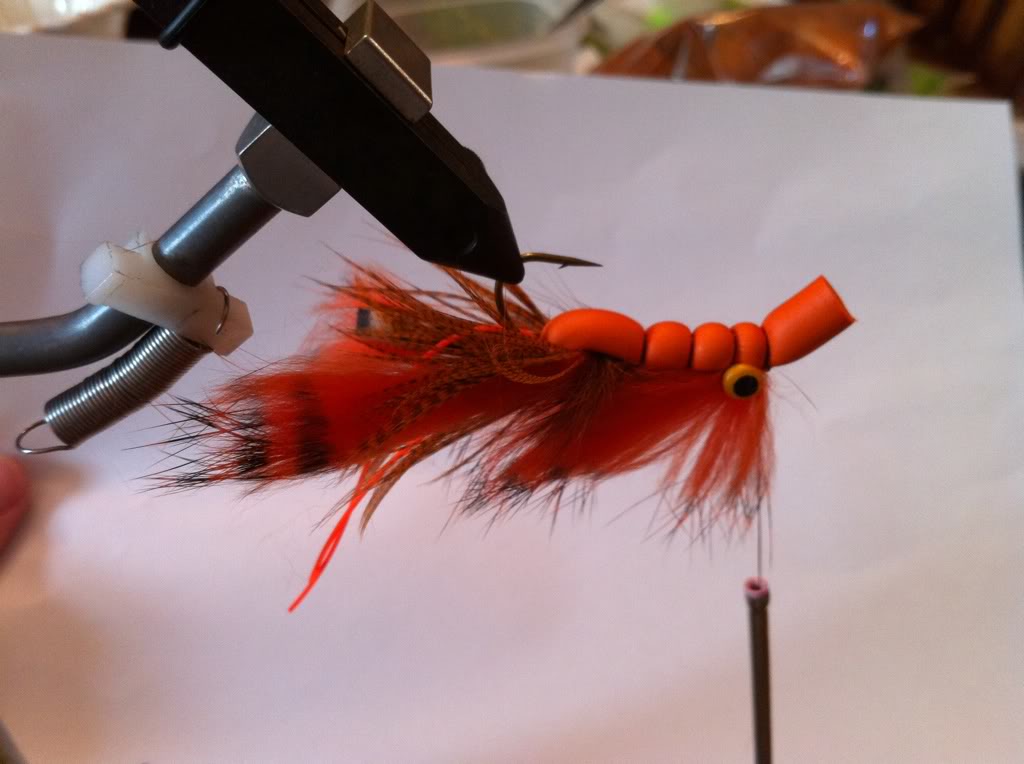
Step 15
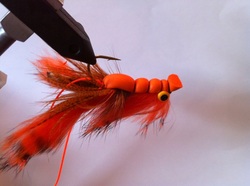
Step 15: Trim thread, then trim tail so that it is flat on top and perpendicular to the hook shank, as shown.
Step 16
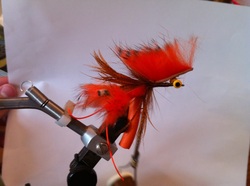
Step 16: Take a permanent marker and add some segmentation and gill marks. I also like to put some segments onto the tail. (below)
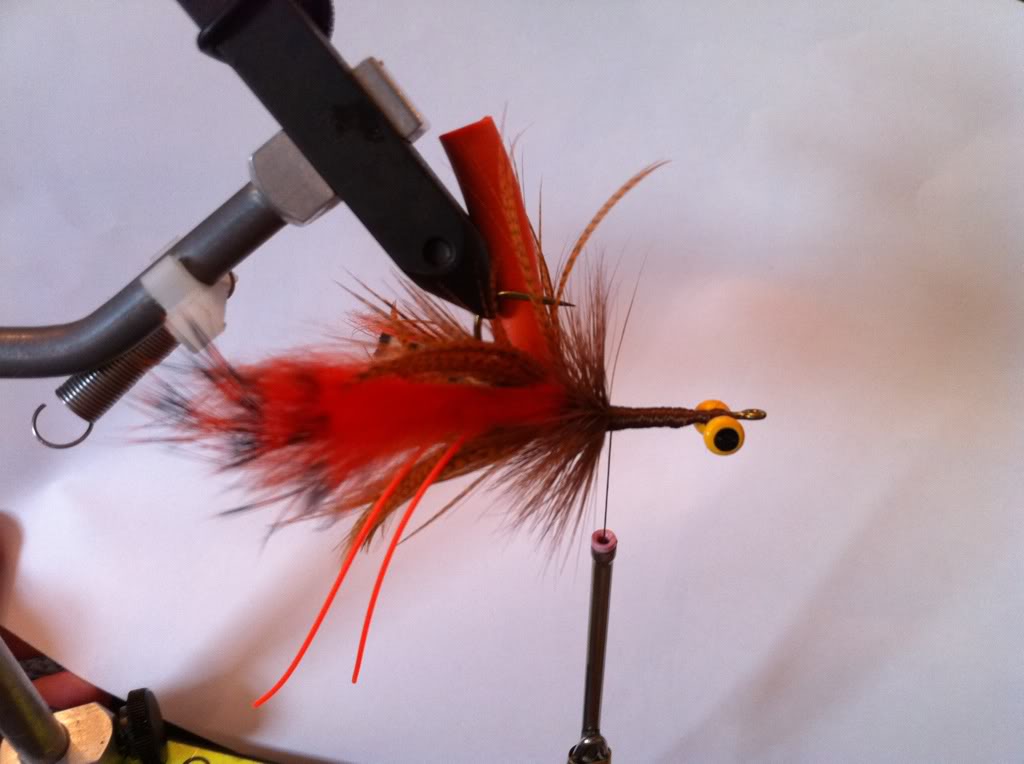
Step 17
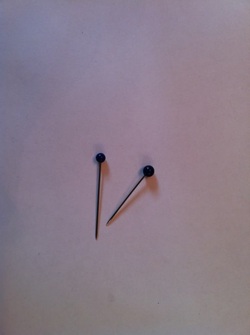
Step 17: Lastly, take two clothing pins and trip them so that the metal is just less than 1/4 inch. Form 2 eye holes in the foam with a bodkin or another pin. Then dip the metal sections of the pins into some epoxy and push in to the holes. Here is one with eyes and one without eyes.
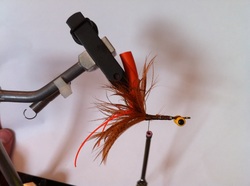
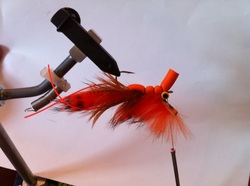
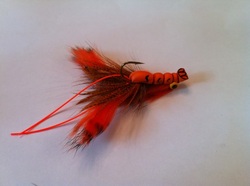
Finished!
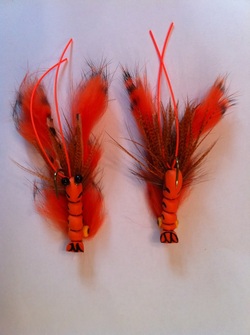
Step 18: Go out and pound some smallies or a big trout with em! |
